This article explains how to import your client list from your CRM to Filenote AI in bulk.
Before you begin
Your file must be a .xlsx or .csv with a header row of column names. For Excel files, only the first worksheet is imported.
| ✓ You only need three columns Your CRM export may include dozens of fields, but Filenote AI only needs three for each client: 1. the adviser 2. the client name 3. the client's CRM ID. Everything else is optional, so if you're not sure whether you need a column, leave it out. You can add more details later by re-importing, and because clients are matched by CRM ID, nothing is duplicated. |
| Required field | What it's used for |
|---|---|
| Adviser | Links each client to the right adviser in Filenote AI. |
| Client name | How the client appears in Filenote AI, for example when you select them in Magic Studio. |
| CRM ID | The unique ID your CRM uses for the client. Filenote AI uses it to link the client to their CRM record and avoid duplicates. Rows without one are skipped. |
Step-by-Step Guide
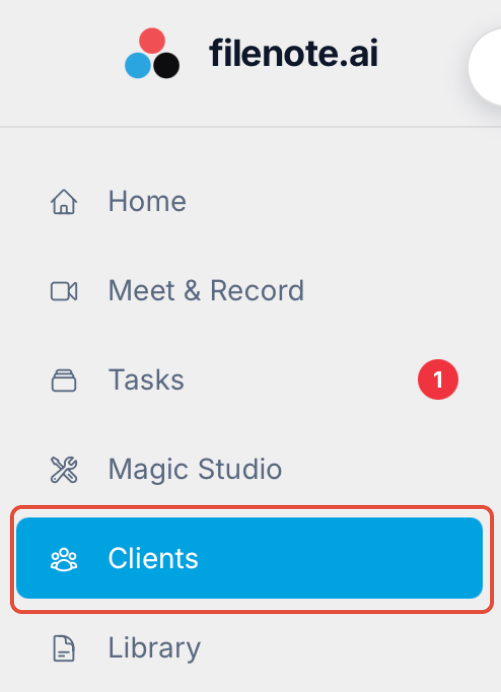
- Navigate to Clients: Open the Clients tab located on the left-hand navigation menu.
- Initiate Import: Select the Import Clients button at the top of the page.

Upload Your File: Click to upload your client list.
Note: We support .xlsx or .csv files. Once selected, click the Upload button.

- Choose individual or household import:
Look at the My data is grouped by household checkbox at the top of the mapping screen.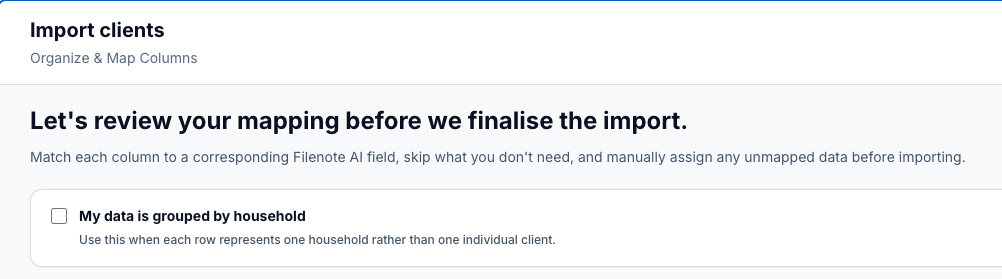
- Leave it unticked if each row in your file is one person. This is the usual case.
- Tick if each row is one household (e.g. "Lee Household" as a single record) rather than an individual.
Don't tick it just because your file has a household or family ID column. If each row is still a person with their own CRM ID, leave it unticked; you can link household members in the next step.
- Map Your CRM ID
Filenote AI uses your CRM's client ID to recognise each client, so it can update existing records instead of creating duplicates. This mapping is required, and Confirm import stays greyed out until it's done.- For an individual import, map your client ID column to CRM ID (under Client Profile in the dropdown).
- For a household import, map your household ID column to Household ID.
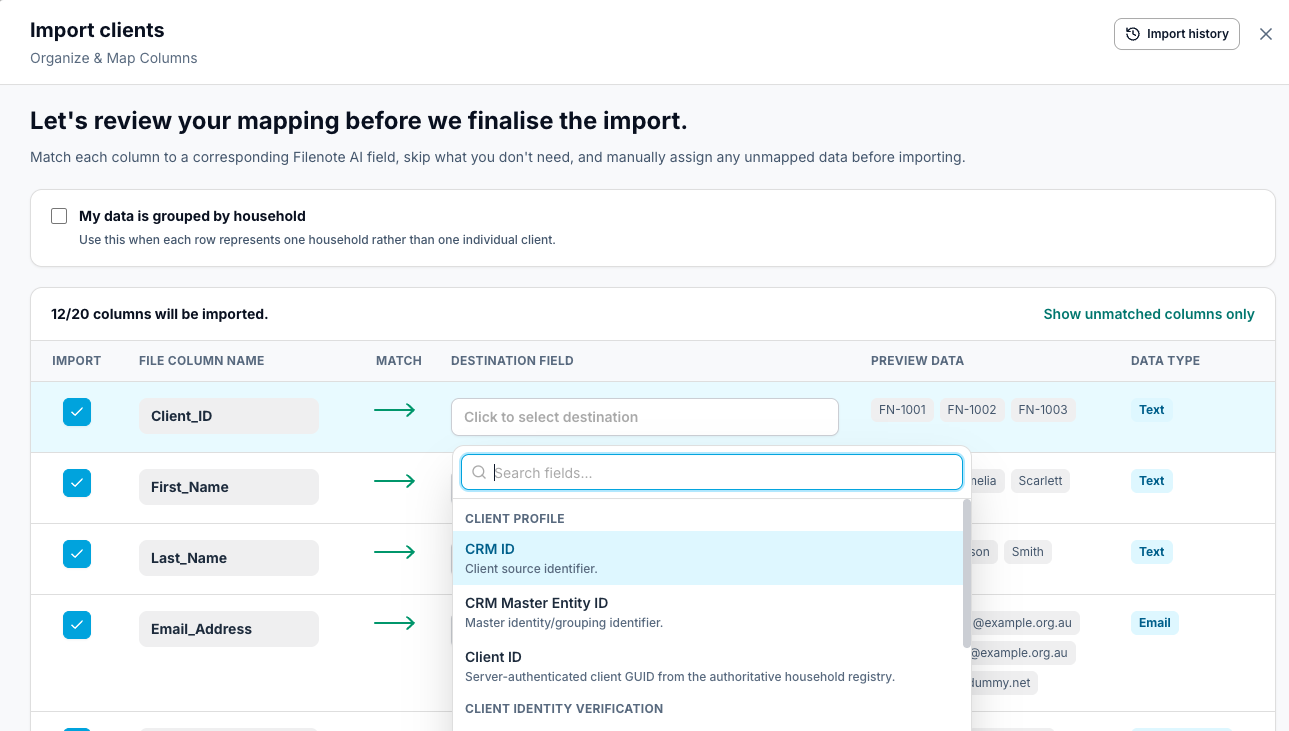
Your spreadsheet column can be called anything; it just needs to be mapped to the right destination field. If you see Choose a Client CRM ID column first at the bottom of the screen, this step isn't complete yet.
Optional: if your file has a shared household or family ID, map it to CRM Master Entity ID. Clients with the same value are grouped into one household while keeping their own records.⚠ Important
Every client row needs a unique CRM ID your CRM uses for that client. This is the way we make the link to the client in your CRM.
Map Your Remaining Data:
Use the Destination Field dropdowns to map your adviser and client name columns. Together with the CRM ID you mapped in step 5, these are the only fields you need. For every other column, tick Import only if you want that information in Filenote AI. If you don’t need it, leave it unticked. You can also create new Destination Fields if your category doesn’t yet exist.- Finalise: Click Confirm Import, then Finalise import to complete the upload.
Your clients will now appear in your Clients tab
★ Good to Know
|
Related articles
- Bulk Client Import: Choose How to Add Your Clients
- Import Your Client List from Xplan
- Merge Duplicate Clients
| Need help? If you run into any issues or have questions, our support team is here to help. Email Support → |
Was this article helpful?
That’s Great!
Thank you for your feedback
Sorry! We couldn't be helpful
Thank you for your feedback
Feedback sent
We appreciate your effort and will try to fix the article