With Direct Save to CRM, Filenote AI saves your finalised outputs, such as file notes and pre-meeting agendas, straight to the client's record in your CRM (customer relationship management system). You set it up once in Delivery Settings, then CRM is automatically selected when you're ready to save and finalise a task.
Before you start
Make sure you have:
- Access to app.filenote.ai, which you log in to using your Microsoft credentials.
- A Master CRM ID on each client's profile. Filenote AI uses it to send the output to the right client record.
✓ Good to know
You can choose how outputs are delivered:
- Your current delivery method plus CRM: outputs go to Email, OneDrive or SharePoint, and a copy is saved to your CRM.
- CRM only: outputs are saved to your CRM only.
Part 1: Set up CRM as a delivery location
You only need to do this once. After that, every output you finalise is saved according to your delivery preference.
Step 1: Open Settings
- Log in to app.filenote.ai using your Microsoft credentials.
- In the left menu, click Settings.
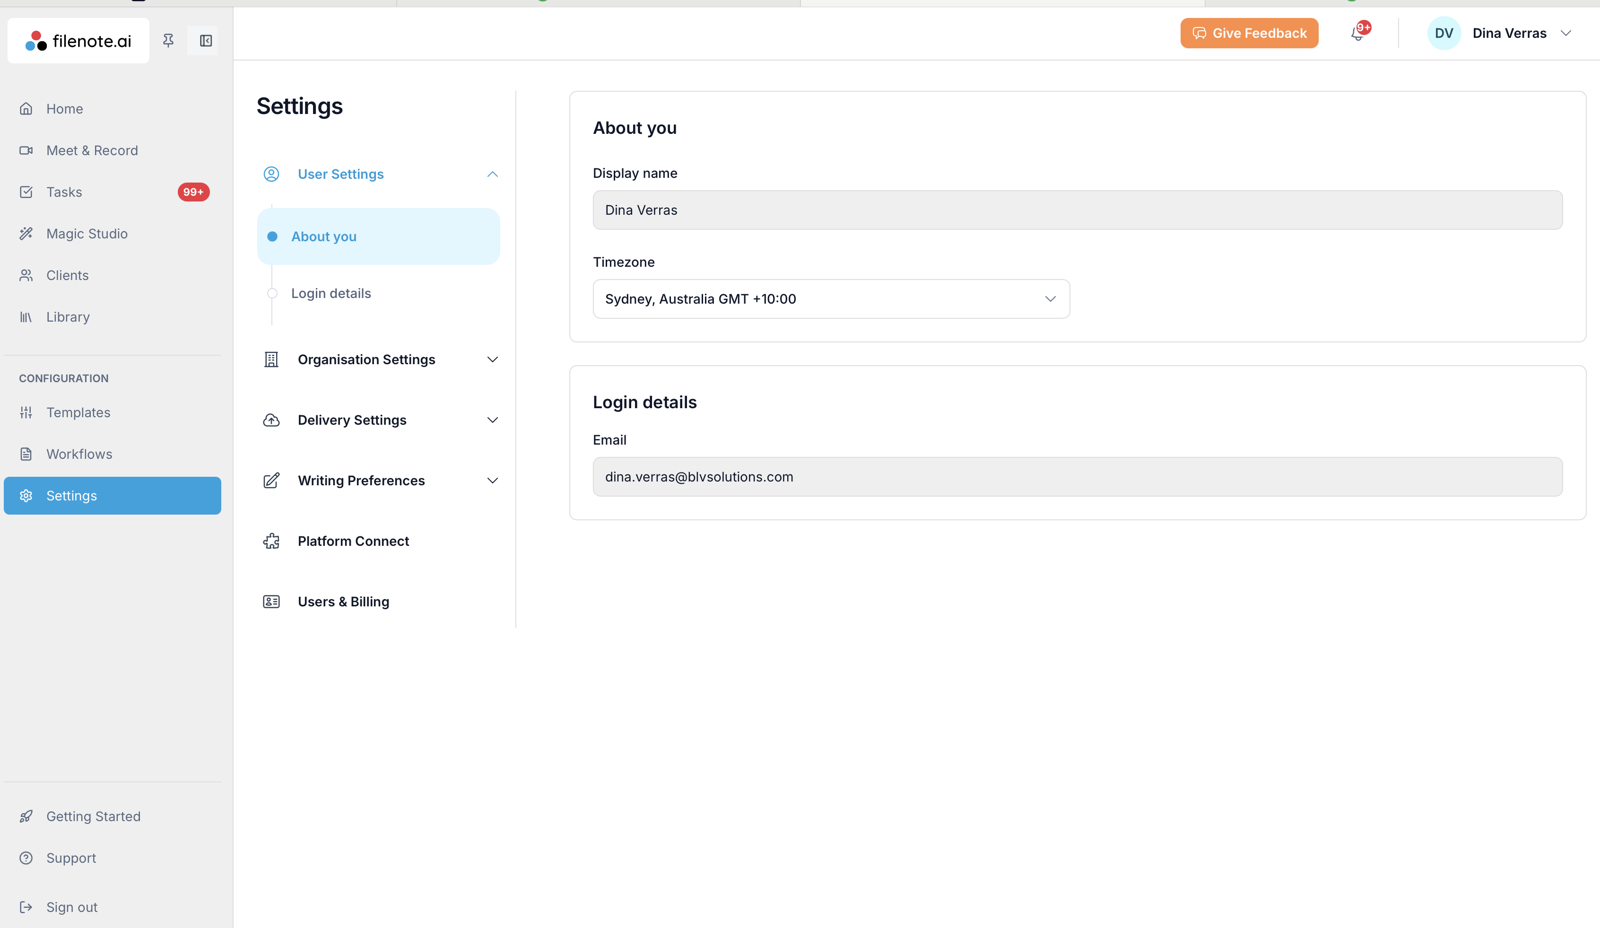
Step 2: Choose your delivery default
- Click Delivery Settings to expand it, then click Delivery Settings underneath.
- Under Delivery default, choose how outputs are delivered by default:
- Select OneDrive, SharePoint or Email to keep your current delivery method.
- Select CRM only to save outputs to your CRM only.
- If you chose OneDrive, SharePoint or Email, tick Also save to CRM. This preselects Also save to CRM whenever you finalise a task with OneDrive, SharePoint or Email.
CRM is now set up as a delivery location.
Part 2: Finalise an output to your CRM
Step 1: Open your task
- In the left menu, click Tasks and open the task you want to finalise.
- Review and edit the output in the editor.
- When it's ready, click Save, then Finalise.
Step 2: Send the output to your CRM
- In the Finalise & Save Output window, tick the outputs you want to save.
- Under Delivery Location, choose one of these:
- Click the CRM tab to save to your CRM only.
- Click OneDrive, SharePoint or Email, then tick Also save to CRM to save a copy to your CRM as well.
- Click Finalise & send to send the output to your CRM.
Was this article helpful?
That’s Great!
Thank you for your feedback
Sorry! We couldn't be helpful
Thank you for your feedback
Feedback sent
We appreciate your effort and will try to fix the article